Please check out my NEW BLOG (with an easier domain) HERE ♡
I thought I'd change it while this blog was fairly new. In the coming couple of days I will have special fx tutorials on that page! check it out!
I will be updating it regularly
xo
Monday, September 30, 2013
My Favourites ♡

Hey Everyone!
I have gathered a list of a few of my FAVOURITE products, that I cannot be without in my makeup drawer, hope you enjoy it! The majority of these products were purchased from Sephora. I have to admit, one of my all time favourite brands is Urban Decay, with Make Up For Ever in close second.

This is the Vice Palette 2, it's more of a colourful palette from Urban Decay. The reason Urban Decay is a go to for me (and some people may disagree), I find their product is highly pigmented, so you don't go through it as quickly and it lasts longer than most palettes (especially with the eyeshadow potion and setting spray - you'll see those in a sec ;) )

Urban Decay's Naked Palette has more neutral colours (if you want more of a natural look) with a light shimmer, brightening your eyes. I've had this palette for about 1.5 years and use it quite often (as you can tell). Urban decay also has a Naked 2 Palette with a couple different colours, as well as a Naked Basics Palette that has neutral matte colours if you choose to forego the shimmer.

This was one of my luckiest pulse purchases (I'll admit, I'm notorious for those). I have very oily skin, and after a couple of hours, chances of my makeup looking the same isn't even a question. If you have that issue, I highly recommend this product for you, my makeup stays put! This is Urban Decay's All Nighter Makeup Setting Spray. Urban Decay has 2 others as well, I recommend either testing them all or reading their description to decide which one will work best on your needs and skin type!

Last, but certainly not least, for Urban Decay; is their Eyeshadow Primer Potion. Used under eyeshadow, it helps dramatically prevent creasing (my eyeshadow used to crease after about 2 hours). This helps set a base so the eyeshadow appears more pigmented while helping it last. With the tinted potions you can either use them under eyeshadow, or by themselves as a quick brightening tool.
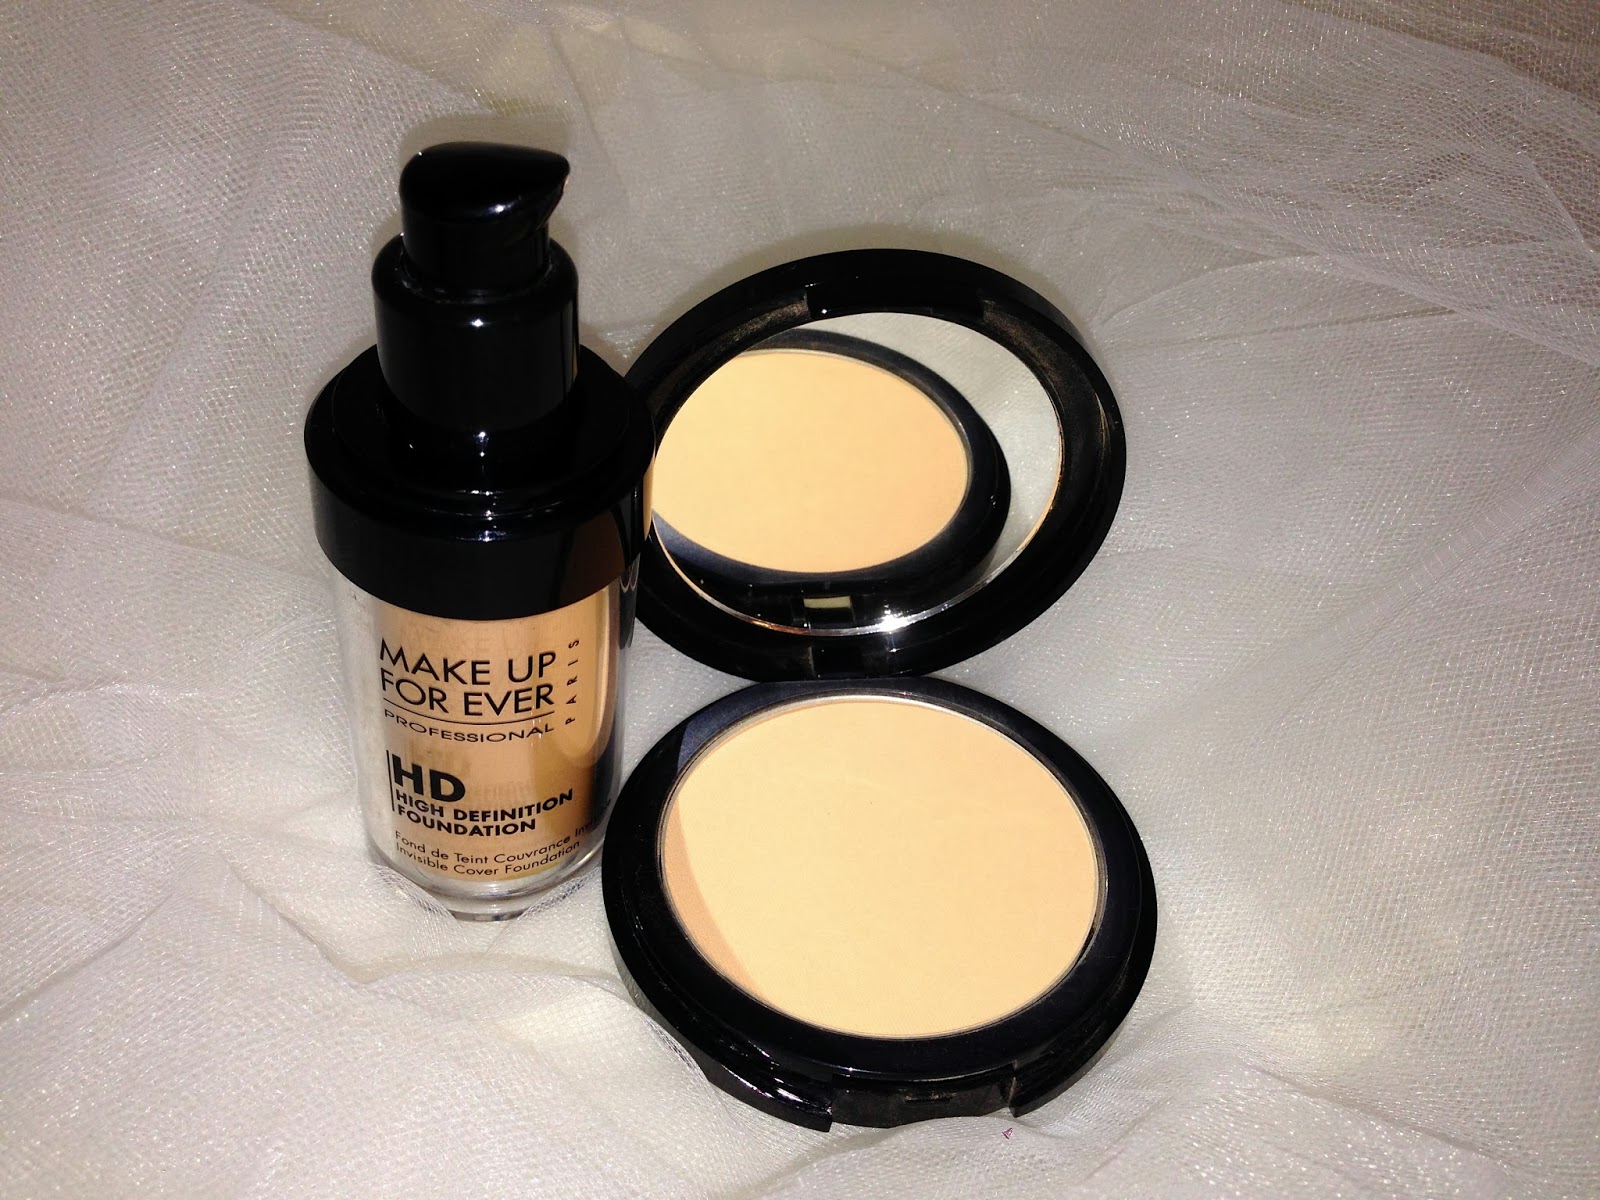
My Favourite Foundation and Power is Make Up For Ever's High Definition Foundation and their Pro Finish Powder. The liquid foundation blends extremely well into the skin and doesn't cake, so you barely notice you're wearing makeup. I use the Pro finish powder to set the foundation, but also use it on it's own and it has great coverage for a powder. *Just a tip for the liquid foundation - once you get close to being out (or when the pump starts pumping), do not throw it out! You still have about about 30-40 uses by taking a makeup brush and scraping the bottom and sides! :)
You Typically only need 1-2 pumps for your entire face to have great coverage!

If you're looking for a good contour/ highlight palette, I personally like Make Up For Ever's Sculpting Kit.

One of my favourite blushes is Nars' Super Orgasm, its a nice pink with a bit of gold sparkle, to add a nice glow to your face. That being said, you will want to use it sparingly- as if you use too much, the sparkle will make you look like you've been rummaging around your christmas decorations.

Like I've said in my previous post, I am not necessarily kind to my hair, but this makes my hair feel SO much better! I've tried a couple different brands of "Argan oil" but it didn't even come CLOSE to how Moroccan Oil makes my hair feel, shop around to get the best price- a lot of hair salons mark it up ridiculous amounts. You can either purchase a small or large bottle.

Who ever said you had to pay an arm and a leg for great mascara? I have tried probably 20 different mascaras over the years, some from the drug store, many from Sephora at $20+. To this day L'Oreal's Voluminous Carbon Black mascara is still my favourite. I have sworn by this mascara for about 7 or 8 years and it doesn't break the bank! :)

Last but not least is NYX's EBPB01 one colour fits all eyebrow pencil & highlighter. I purchase mine from Target. If your eyebrows are lighter, apply lightly, if you're going for a darker look, apply a littler more ;)
Hope this post helped in some way, these are just my personal favourites, if you have any questions, or requests, just comment and I'll try my best to answer!
- Courtney xo
Sunday, September 29, 2013
Bunion Surgery
Hey everyone! This is going to be a bit of a longer post (sorry in advance):
So let me just start by saying, for those who don't know what bunions (or as one of my best friends likes to call them; "bunnies") are, they're a build up of bone on either side of your foot (near the toes). Some people have them and they don't bother them; but many people, like me, get them and they cause them pain on a daily basis.
This prompted me to meet with an Orthopaedic surgeon to discuss my options. I was in SERIOUS pain, where I could barely walk some days or would be limping horribly. He determined that based on the X-rays I was a candidate for the surgery, if I felt that it would be worth it. (The process of getting a referral to the surgeon took about 9 months, and then an additional 1.5 years on the wait list for the surgery).
My first surgery was on February 28th, 2013 (Left foot) and my most recent was on September 5th, 2013 (Right foot). Let me just say, this surgery isn't to correct minimal pain for bunions, it is QUITE painful (at least my first surgery was, this one wasn't so bad, although still painful). So please take that into consideration.
If you determine that surgery IS the way to go because you ARE in a fair amount of pain, after the healing (which is about 6-10 weeks, depending on how quickly you heal) it definitely helps and in the long run is worth it!
*For those considering the surgery*:
A couple of tips I learned as I went, which I didn't know the first time around and may have helped make the second one less painful:
- PREPARE - a couple days before, make a couple dishes or your favourite snacks that you can freeze, to make it quicker/ easier for those taking care of you. I made: peanut butter protein balls, frozen grapes, and frozen fruit covered in greek yogurt. For recipes please comment and I will provide them!
- STAY OFF YOUR FOOT - the first day after surgery, they add additional freezing to allow you to get home in minimal pain. The first time, I walked in my special boot that a) I didn't know how to properly use yet and b) I couldn't feel if I was causing more damage. So just stay off it
- ELEVATE - as soon as you get home! I also limited the amount I got up - it takes about 4-5 hours for the freezing to wear off (in my case), so when I felt it starting to wear off, I went to the washroom for the last time/ brushed my teeth, so that when the freezing did wear off, my foot wasn't down. (The change from elevating to putting your foot down can cause a bit of pain).
- GET CRUTCHES/ CANE - the crutches make it easier for your foot to heal, trust me, you'll need them. The cane is for when you can put pressure on your foot, but it's for added support (I am the worlds clumsiest person, having one working foot isn't a walk in the park).
- DO SQUATS/ YOGA BEFOREHAND- this might be odd, but having one foot requires a fair amount of core strength and balance, you're going to have to sit on the toilet, stand up from the bed, all with the use of one leg (trust me, this makes it SO much easier to cope).
- VITAMIN C- this is your friend! Before & after your surgery, make sure to load up (in a healthy dose) of vitamin c, it's been linked with helping promote healing (I'm not a scientist or doctor, but it was a tip from my dad & with the power of google, I found articles supporting this tip).
- GRAVOL & GINGER ALE - I was put on prettttyyyy strong drugs & my body is not used to them nor likes them, so I felt horrid and these 2 became my best friends. (Check with your doctor before mixing Gravol with what they prescribe). The perk of Gravol besides calming your stomach - it knocks you out making it a bit easier to sleep through the pain
- NETFLIX - or any sort of device that doesn't require you to get up and change the DVD. The first week of my surgery my TV is on pretty much 24/7, for a couple of reasons : I would wake up in the middle of the night from some pain and having the TV on would a) give me something to distract myself with and b) relaxed me. (Jennifer Aniston movies and chick flicks worked best).
- CHAIR IN SHOWER- trust me, standing taking a shower is NOT going to work out, luckily I had a bench in mine built in, but if you go to the dollar store and grab a cheap plastic chair it will make your life so much easier! (As well as in the bathroom for doing hair/ make-up when you eventually go out).
*The first surgery it took me 2 weeks to go downstairs & 3-3.5 before I could walk with a cane (without crutches). The second surgery it took me 4 days to go downstairs & 1 week to walk with a cane without crutches.
I think using the coconut oil in recipes may have helped as well- it helps promote healing :
If you have any additional questions about the surgery and recovery, I will be happy to answer!
- Courtney xo

If you notice on the picture, how the bone on the right protrudes & the toes are much closer together because of that.
Saturday, September 28, 2013
Coconut & Honey Hair Mask
Let me just start by saying I LOVE organic, virgin, coconut oil!
I use it for EVERYTHING... cooking, skin care, hair care, and even healing! So of course, because I put my hair through the ringer, between colouring, bleaching, straightening... you get the picture, I needed some major help.
You can skip the honey, if that's not your thing... but it definitely adds to this hair treatment.
I used about 2 tbs of organic honey (I purchased it from bulk barn)
and about a 1 tbs of organic virgin coconut oil (Costco.. but you can purchase from most grocery stores)
I mixed it together, heated it quickly with a hairdryer (to make it a bit runny... not hot) and applied to my hair. Throw your hair in a bun and if you have it, a shower cap and read a magazine or relax for about 20-30 minutes (depending on the dryness and damage of your hair, you can leave it in longer).
If your hair is oily like mine, I don't recommend putting it near your roots, especially if you have somewhere to go after.
Shower and shampoo as normal...
Now you should have some shiny and smooth locks ;)
Subscribe to:
Posts (Atom)